An accurate, reliable pH meter is arguably the single most important piece of lab equipment to invest in for a winery. pH is not only the most common analysis a wine lab will perform, it’s also debatably the one parameter in a winery’s lab testing that most reflects the overall health of your wine. The push for long hang-times to achieve ultraripe grapes often can come with pH values pushing 3.8 or more, leaving wines susceptible to unwanted spoilage or oxidation concerns, particularly as the industry trends more and more towards judicious use of SO2 in the cellar.
The pH meter is often one of the least understood equipment pieces in the winery lab however. It tends to be the one item never really pondered so long as it gives a repeatable reading to the calibration buffers you have on hand (whether they’re fresh or not). So, we wanted to delve into the basic workings of a pH meter for the average winemaker to help everyone better understand this important piece of lab hardware, improve both your pH testing results and overall quality control, all while helping expand the useful life for a key piece of winery lab equipment.
What Exactly is a pH Meter?
In short, a pH meter is a probe that forms an electrical circuit, measuring the voltage of that circuit as it interacts with charged ions (H+ or OH-) in solution. Let’s take a look at the HI10480 pH and temperature probe that comes with the edge meter from Hanna Instruments to better understand.
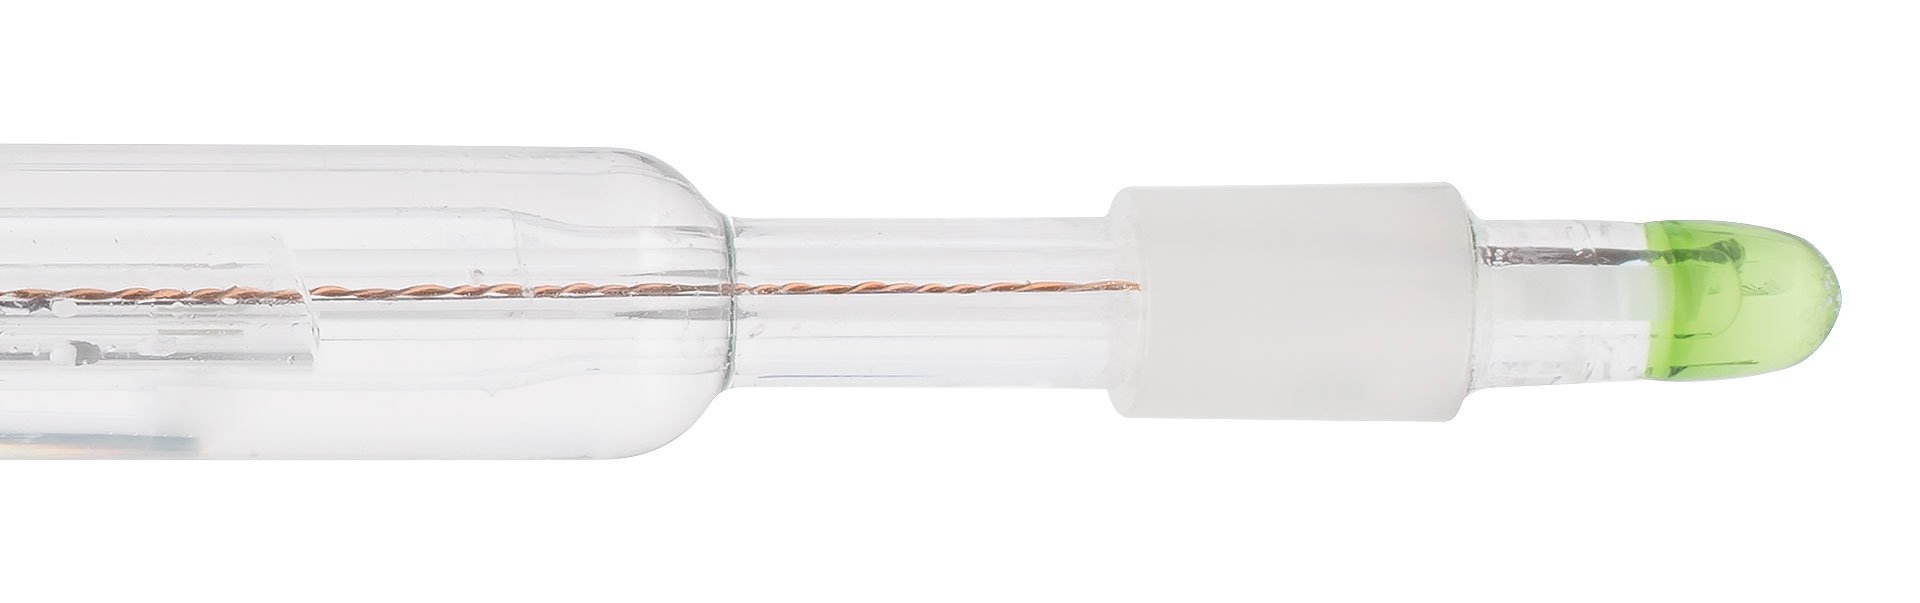
The interior of the electrode contains a AgCl coated reference wire that generates an electrical potential. That reference wire interacts with a KCl electrolyte filling solution inside the probe, which then flows through a junction near the tip in small quantities. The flow of that electrolyte solution surrounds the probe and generates the medium for the measurement to occur. The glass at the tip of the probe is semipermeable and multilayered. When kept properly hydrated, it forms a surface in which H+ or OH- ions can interact with the glassware, completing the electrical circuit back to the probe’s measuring wire. The more ions in solution that interact with the probe, the more charge is generated, and the higher the voltage reading. Calibration buffers are used to standardize the voltage output of the probe to specific pH values.
The Science of pH Calibration
Frequent calibration of your meter is critical as any measurement is only as good as the standard to which it’s measured against. The conditions of pH meters change over time. Deposits can form on the interactive glass surface and interfere with the measurement for instance, or the concentration of the internal electrolyte solution can change over time, especially if the probe is not properly stored during periods of non-use. Even the glassware itself begins to degrade as the fine layers of the probe wear down with repeated use. Frequent calibration with fresh buffers gives a standard to ensure that both meter condition and its output are both up to snuff.
Calibration generally begins with pH 7 buffer. As the neutral value on the scale, there should theoretically be no charged ions in solution, generating a 0 mV potential for the meter. Any deviation from that 0 mV value is called the offset. Generally, an offset of ±10 mV is considered within normal range. Offsets greater than ±20 mV are when readings are typically considered out of normal range, which often come from interferences on the surface tip of the meter, or buffers which have become contaminated.
Second and/or third buffers are added to the calibration to generate a slope to the meter’s voltage response. Each unit of pH (4 to 5 for instance) results in roughly 59 mV of voltage potential in solution, with acidic charges being positive and alkaline ones negative. Your meter’s response to a calibration buffer of 4 would then fall into a known expected range of voltage for the meter to detect. Any large deviation from that range results in a poor slope value. Typically a slope of ±5% to the expected value is ideal, while anything beyond ±10% is considered out of range.
Proper understanding of both the offset and the slope allows you to gauge whether your meter is actually performing well, or simply giving you a number in response to your current buffers. It’s also a means of verifying whether your buffers are up to standard or need replacing, as well as whether your probe needs a cleaning, reconditioning, or has just started to reach the limit of its useful life and needs replacing.
The first question most labs ask is what should be the frequency of calibration. Daily is usually the best recommendation for normal use. Heavy use may require multiple calibrations per day though. Light use with periods of non-use should come with calibration prior to using the meter for measurement. 
How to Care for Your pH Meter in the Wine Lab
Once you understand the basics of how your pH meter works, it helps you understand the needs of your pH probe for proper storage and care.
Because the glass tip requires a proper interactive surface (hydration), and both the pH glass tip and junction have permeability that can alter the concentration of the internal electrolyte solution, it’s crucial to store the meter properly to ensure both of those conditions are maintained as intended. The use of an electrode storage solution that is isotonic to the internal electrolyte is ideal, and I highly recommend the use of storage sleeves to protect the delicate glassware and keep the probe properly submerged in the storage solution when not in use.
Regular measurements in wine can build up deposits on the pH glass over time, so weekly or bi-weekly cleanings are generally recommended. Hanna Instruments offers a cleaning solution specifically formulated for the removal of wine deposits (product and link). A simple soak of the probe in the cleaning solution for 20 minutes is all that’s required, followed by a thorough rinse with DI or distilled water, and a return to storage solution for 30 minutes to properly recondition the glass surface for measurement.
Should any stains form on the meter from extended exposure to red wines, a separate stain removing solution is also available (product and link). Again, a short soak in the solution followed by a DI water rinse and 30 minutes in storage for reconditioning is the protocol.
The internal electrolyte filling solution in the probe should be changed every month or two based on the frequency of use to make sure its concentration is properly maintained. For proper flow to occur, you must loosen or remove the electrolyte filling cap on the probe before measuring, or it inhibits flow of electrolyte through the probe junction by causing a negative pressure (like putting your finger on top of a straw). A feature to point out related to that in care of your probe is the clog prevention system. If poor meter response becomes an issue, a clogged junction may be to blame. The HI10480 probe comes with a Teflon sleeve to not only prevent clogs, but help easily clear them by sliding the sleeve up the probe and allowing the filling solution to easily flow through the junction, clearing any clogs. Just reseat the sleeve over the junction once the clog is cleared.
One final tip for quality pH measurements and care is on technique. The best method is to take your probe from the storage solution, rinse with DI or distilled water, then rinse with a small amount of the sample you’re going to measure to remove both the storage solution as well as the water rinse. If you must dry your probe between samples, always do so by dabbing gently with a Kimwipe or other proper soft tissue. Never fully wipe the tip of the probe as you’ll interrupt the hydrated surface of the probe for proper measurements, risk damaging the glass, or at least wear down the glass much faster over time, shortening its useful life.
A well-maintained pH meter will give you accurate measurements that you can then confidently use for your crucial winemaking decisions, such as SO2 or acid additions.
pH Testing Options
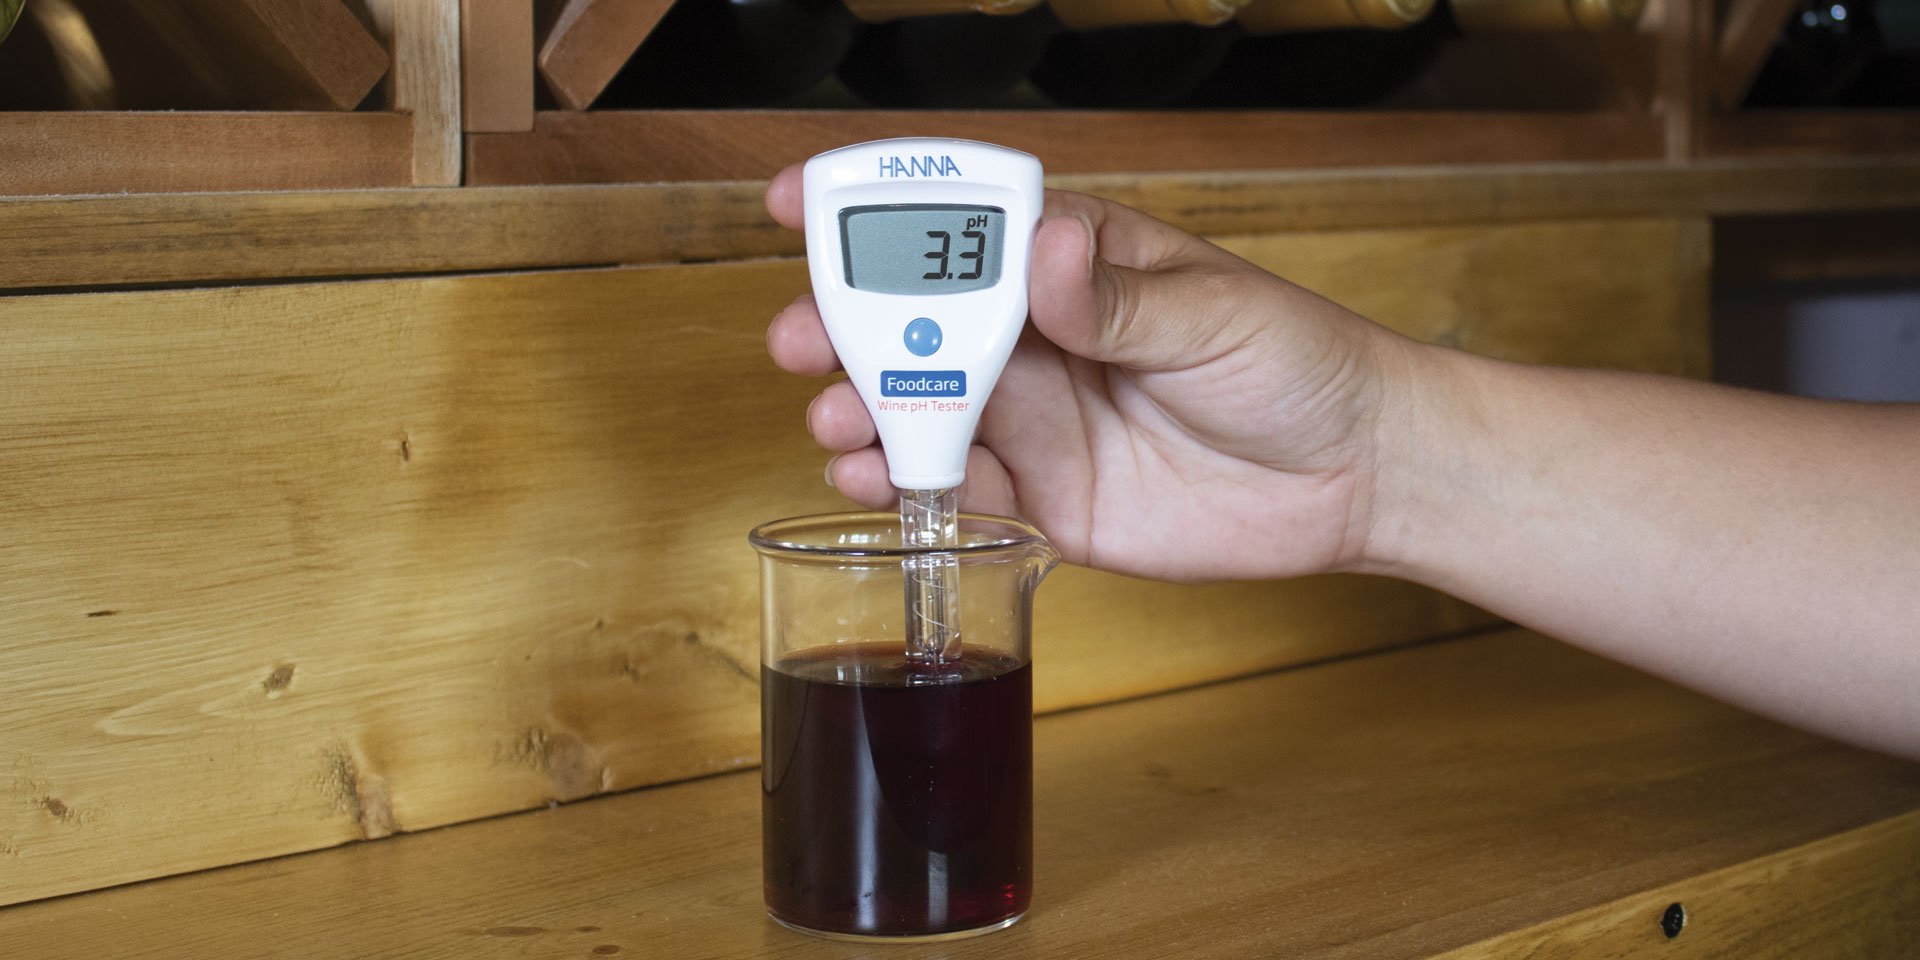
There are many options when choosing the perfect pH testing solution. For a simple and portable solution, the HI981033 Wine pH Tester still provides the specialized electrode for wine, but in a pocket-sized meter. It comes with the solutions and accessories needed to get started with testing right away. The long battery life will provide up to 1000 hours of continuous use, and the tester will alert you with a blinking battery icon if your battery starts to get low .
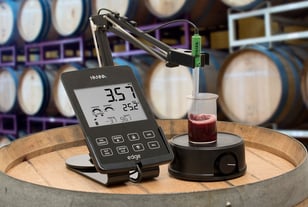
For a lab option, the HI2020W edge® Wine pH Meter (kit) is versatile pH meter with the option to upgrade to a professional winemaker's kit where you can add on electrodes to test additional parameters (conductivityand dissolved oxygen). Solutions for calibration, cleaning, and storage are included in order to keep your electrode and meter in tip top shape.

Contacting Hanna Instruments...
...can help you find the right pH meter to meet your winemaking needs. Contact us using one of the channels below!
